This week I take a look a the fine art of making mead and how modern mead techniques have revolutionized
gravity
Many beer styles rely on a full bodied beer with great head retention, mouthfeel and complex character. Higher body comes
This week I take a look at some of the many new hop products available to home and professional brewers.
Today I take a look at just a few of new brewing features in BeerSmith 4. This is part of
This week I look at the “Noble Fruits”, a term coined by Ken Schramm to describe the fruits that work
This week I cover water to grain ratios used during mashing and how it affects the mash and ultimately your
This week I take a look at the best practices for making hard seltzer at home. Seltzer has grown in
This week I take a look at how the use of high proportions of specialty malt can impact the fermentability
Craft sake brewers are bridging the gap between beer and sake by creating hybrid products, drawing in curious craft drinkers with innovative, approachable takes on traditional Japanese brewing.
The post Kanpai! How Sake Is Segueing into Craft Beer appeared first on CraftBeer.com.
This week I take an in-depth look at my Witbier recipe and some of the design decisions made in designing
This week I take a closer look at brewing the vaunted New England IPA (NEIPA), also called Hazy IPA and
This week I take a look at the practice of using multiple equipment profiles for your brewing equipment in BeerSmith.
As we’re looking ahead to everything that 2025 will bring, we’d also like to take a moment to look back at some of the stories and people who defined craft beer in 2024.
The post Cheers to Beer in 2025 appeared first on CraftBeer.com.
This week I cover the formal definition of an International Bitterness Unit (IBU) widely used in beer recipe design, but
This week I take a look at how to read a yeast data sheet for brewing yeasts and how to
This week I take on another beer recipe design case study of the classic Irish Stout style. The Irish Stout
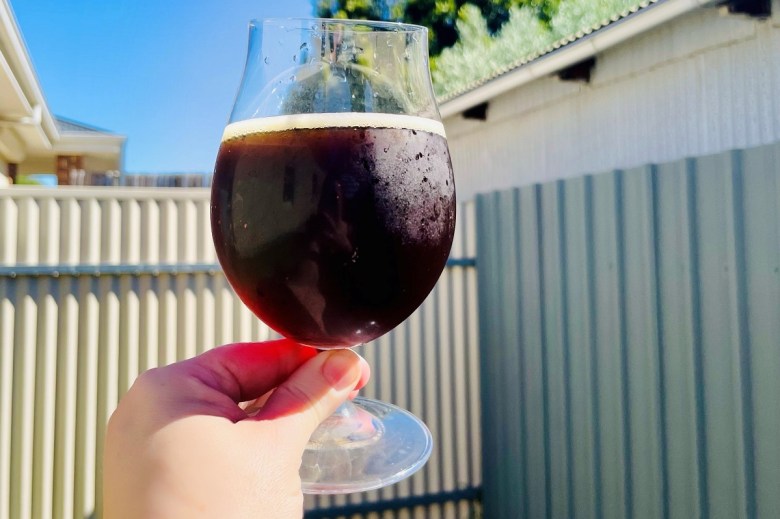 Tali Warnock from the South Australian Brewing Club shares the recipe to her Scottish Light. Tali Warnock from the South Australian Brewing Club shares the recipe to her Scottish Light. Tali Warnock from the South Australian Brewing Club shares the recipe to her Scottish Light. Tali Warnock from the South Australian Brewing Club shares the recipe to her Scottish Light.
  John Palmer guides you through brewing this delightful beer, that is widely praised but far too often poorly replicated. John Palmer guides you through brewing this delightful beer, that is widely praised but far too often poorly replicated.
 This week I take a look at yeast blends and how you can blend yeast to achieve a unique flavor
This week I take a look at how you can use percentages to formulate your grain bill for more efficient
It’s not often I review other software based brewing tools, but I was recently contacted by Enrico Mollica about a
In an industry historically dominated by males, women in the Vermont beer industry are woven into the fabric of the breweries.
The post The Women of Beer in Vermont appeared first on CraftBeer.com.
This week I continue my series on brewing low alcohol and non alcoholic beers. I’ll cover new low-alcohol yeasts, arrested
This week I continue my series on low alcohol and non alcohol brewing for home brewers. Last week in Part
This week I take a look at some popular methods for making low alcohol beer at home. Commercial brewers use
 This week I take a look at fermentation considerations when brewing a very high gravity beer such as an Imperial Stout or Barley Wine. Last week in Part 1, I covered several methods for achieving a very high starting gravity. Selecting Your Yeast Now that you have a high gravity wort, you need to consider […]